Signs are designed to be printed on perforated card stock. There are formatting options available to help match the sign printout to the paper layout.
To create a new sign format:
- Click Administrative > Sign Formats - then click the Add button at the bottom.
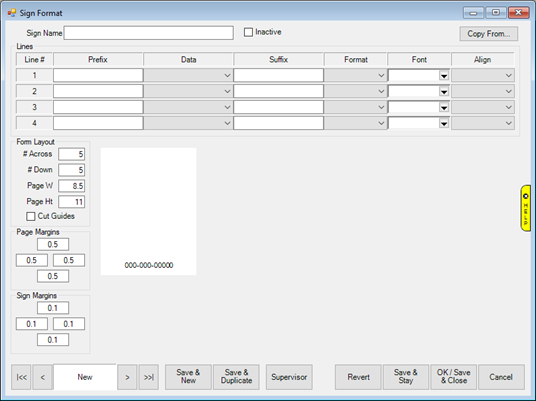
- Use the Form Layout fields to define your paper dimensions.
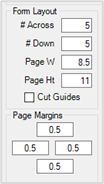
| # Across / # Down |
Number of signs to print across and down. |
| Page W/Ht |
Page width and height. |
| Cut Guides |
Check this to print lines to help aid in cutting; useful if you are not using perforated sign paper. |
| Page Margins |
Define outer paper margins. |
- Enter a Sign Name at the top to identify this sign type, e.g. “End of Year Clearance”.
- Each sign can display up to 4 lines. A line can contain a Prefix, Data, and/or Suffix.
| Prefix |
Text typed here will appear at the start of the line. If Data is specified, this text will appear before it. |
| Data |
Drop-down lets you choose to display item’s Retail, current selling Price, or Discount. |
| Suffix |
Text typed here will appear at the end of the line. If Data is specified, this text will appear after it. |
| Format |
Drop-down controls how selected Data should be displayed. |
| Font |
Opens window allowing you to change font, style, size, color, etc. |
| Align |
Controls alignment; choosing Fit will also adjust font size to keep it on a single line. |
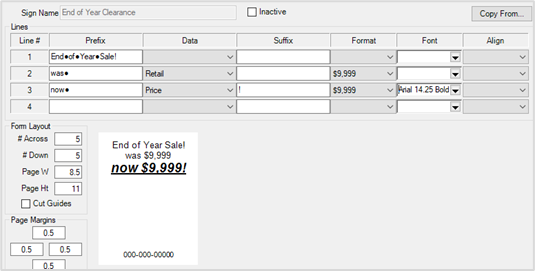
- Specify the information you wish to appear on the first line. In this example, enter “End of Year Sale!” into the Prefix field. The live preview window will update to reflect this.
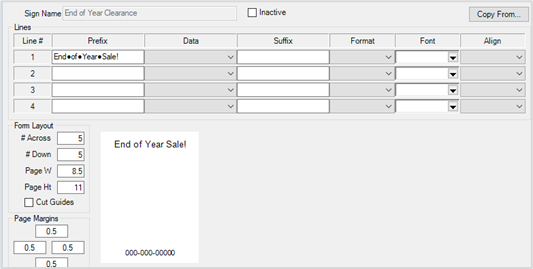
NOTE: The spaces appear as black circles in the Prefix and Suffix fields.
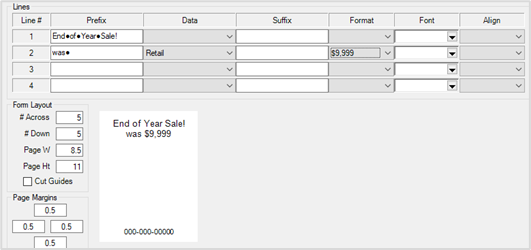
- Specify information for the second line. Enter “was ” into Prefix, use the Data drop-down to select Retail, and choose “$9,999” for Format.
- Specify information for the third line. Enter “now ” into Prefix, use the Data drop-down to select Price, enter “!” into Suffix, and choose “$9,999” for Format. Use the Font drop-down to make this line stand out.
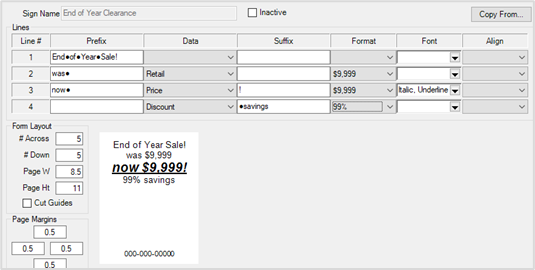
- Specify information for the fourth line. Use the Data drop-down to select Discount, enter “ savings” into Suffix, and choose “99%” for Format.
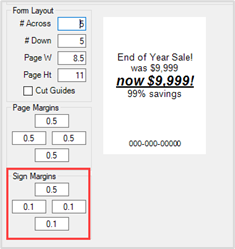
- Use the Sign Margins fields in the bottom left to control how the text positions on the sign. In this example, change the top margin to “.5” to center the text vertically.
- Click OK/Save & Close to save your sign format.