Postcards previously defined for ad hoc mailings can be imported. For more information, see the Importing Existing Postcard Presets section.
To configure The Edge to send automatic postcard jobs from scratch, it is necessary to schedule them.
On The Edge main screen, in the Clientele section, the Postcards tab now has four subordinate tabs. For those who are familiar with the old functionality, running ad hoc postcard mailings is now located under the Order Now button.
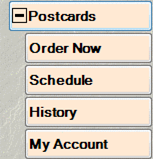
The account management functionality, which used to be under the Supervisor tab under Postcards, is now under the My Account tab.
There are now two new buttons, Schedule and History.
Using the Schedule Option
Schedule is where you specify which postcards are to be generated each week.
 This function is password protected. You will need permission to send a job to the Internet print house.
To select and configure a job:
- Select Clientele > Postcards > Schedule. Once you clear security, the Scheduled Postcard Jobs window will appear. The first time you see it, it will be empty.
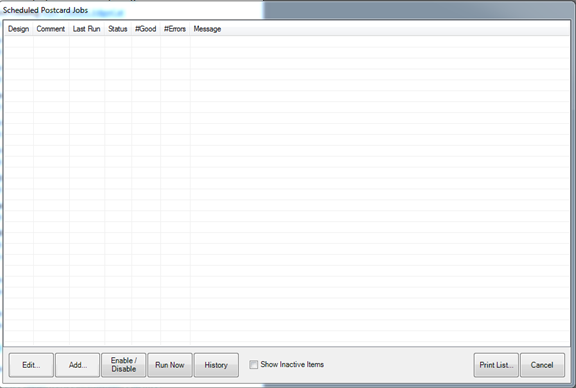
- Click Add to specify a postcard job. The Schedule Automatic Postcards window will appear.
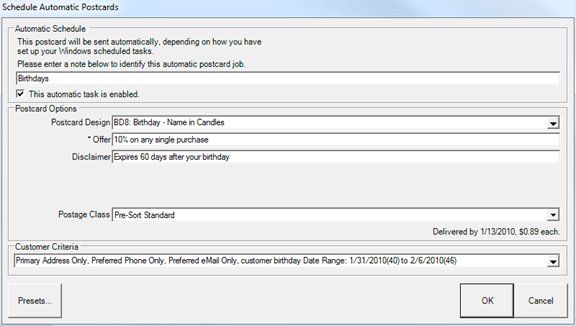
The Schedule Automatic Postcards window strongly resembles the Order Now functionality, with the addition of a new field to specify an identifying note or comment and a checkbox by which you can enable or disable the automatic nature of the job.
- Enter a name for the mailing.
- Select a Postcard Design. Based on the design you choose, many Customer Criteria will be selected for you and will appear in the filter Results tab, discussed later. See step 8 for more information.
- Enter the promotion or greeting in the Offer field. You can provide a discount or simply say, “Happy Birthday.”
- Enter a disclaimer if desired. For example, you may wish to limit the length of the offer or exclude a particular category.
- Select a postage class.
- From the Customer Criteria area, complete the parameters around which to generate the mailing. The Customer Criteria filter works just like Customer Find. Go through each tab and narrow your target audience.
- Let’s call attention to the Results tab. Notice that many selections are made based on the postcard design you selected in step 4.
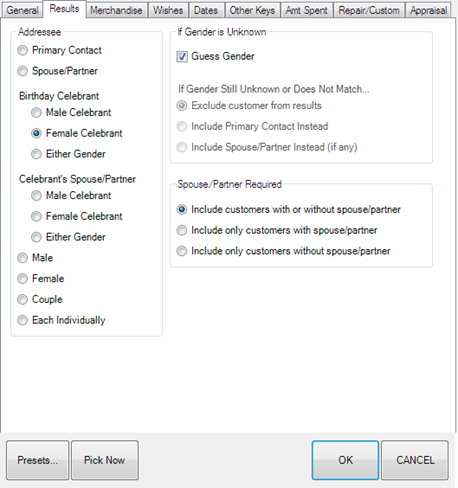
- Filter further only if required.
- Select the Dates tab and filter by the date of the event.
- Select Presets.
- Select Save Settings. Enter a name for the preset settings. For more about presets, see the section entitled Recommended Presets.
- Click OK.
It is important to remember that each automatic job will run each and every week, so each of your jobs should include customer criteria with a date range of 7 days. The Rolling Dates feature allows you to set a minimum and maximum number of days, weeks, months, quarters, or years from the date of the job. Note that a week in The Edge is Sunday to Saturday.
For example, if you are setting up an automatic mailing function, and you wish to always send cards 3 weeks in advance of an event, you would specify rolling weeks to Min 3/Max 3. This way, the job will look and find any event 3 weeks ahead. It will include associated targets that match within a week. You should select the exact range based on your chosen postage class and your knowledge of your customer base.