Before you can add items of this pricing method you must first create a category for them. Spot metal priced items can only be entered into categories setup specifically for this pricing method.
See Creating a Spot Metal Pricing Category for information on how to setup a category.
To add a spot metal priced item:
- Click Inventory > Item >Add > Item. The New Item window will appear.
- Select a category that you have setup with the Spot Metal Pricing method.
- Specify a vendor and vendor style. After you enter a vendor style # the Allocation window will appear.
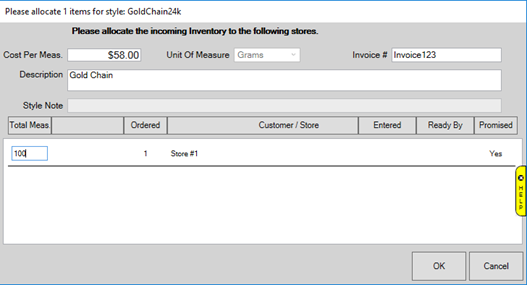
- Specify Cost Per Measure, Invoice #, Description, and Total Measure being received, then click OK.
- This will bring you to the Quantities tab of the item and a window will appear allowing you to select the type of metal for this item.
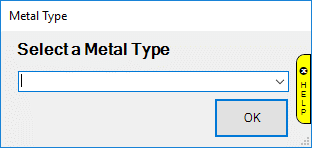
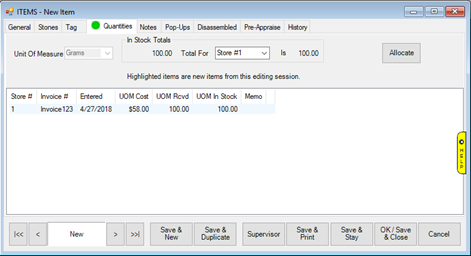
- This metal type appears on, and can also be changed from, the General tab. Choose the correct metal from the drop-down and click OK. The Quantities tab now displays your entry.
- Click on the General tab. There are two fields here unique to Spot Metal Pricing: Labor and Labor Cost.
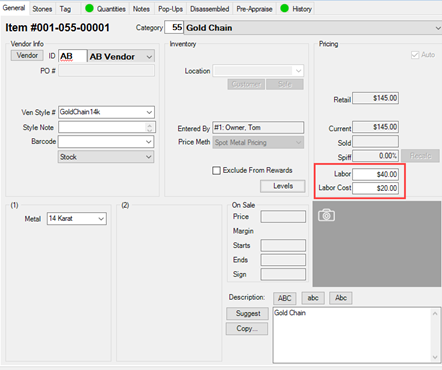
Labor is for the retail price of labor; this gets added to the price when this item is sold in POS.
Labor Cost is the cost to you for this labor.
- Complete remaining tabs and save your new item.