If a custom job has not yet been marked as done and/or picked up, adjustments can be made through the Edit screen. See Custom Job Edit for more information.
NOTE: It is possible to "un-done" a custom job allowing you to edit it, but this is not available after the job has been picked up.
There may be times when you do need to make adjustments to a picked up custom job. For example, a customer could come to pick up the job and then decide they wanted a little additional work done while they waited. Or, perhaps a customer is dissatisfied with the results and you decide to refund some, or all, of the money paid.
To adjust a custom job:
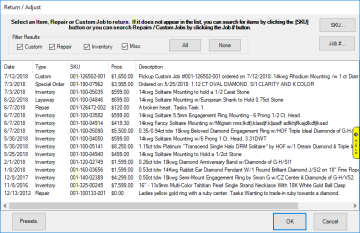
- Go to POS and look up the customer, then click the Return / Adjust button. The Return / Adjust window will appear showing a list of purchased items as well as picked up jobs.

You can use the checkboxes at the top to filter what types of transactions are displayed.
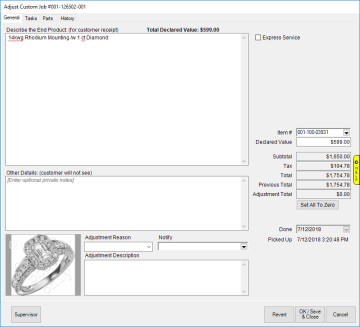
- Find the picked up custom job you wish to adjust and double click on it. The Adjust Custom Job window will appear.

- Use the Adjustment Reason drop-down at the bottom to select why a change is being made. There is a System List that controls the available choices. Then, use the Adjustment Description field to elaborate on the reason.
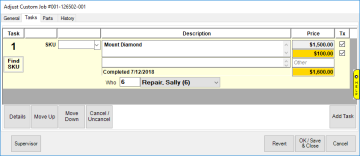
- Make your desired changes. You can add additional tasks if necessary or adjust pricing on any existing tasks. If this is a full refund you can utilize the Set All To Zero button.
NOTE: Any field you change will be highlighted in yellow.

In this example the labor charge was reduced from $150 to $100; notice the changed amount are highlighted in yellow. The totals on the bottom right of the General tab also now reflect this adjustment.
- Save your adjustment and proceed with completing the transaction normally.
NOTES:
- Both the adjustment reason and description will appear on the customer's receipt.
- You can undo an adjustment in any field by right clicking on it and selecting Original Value. Or, to undo all adjustments, use the Revert button.