To locate and verify customers for the test sale in POS:
- At the top of your Edge home screen, navigate to the POS tab.
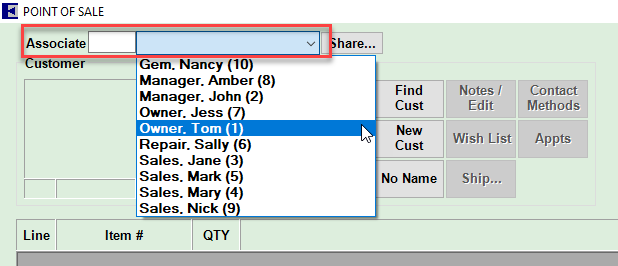
- Enter or select an associate from the drop down (conversion database will have an associate 999 or 1).

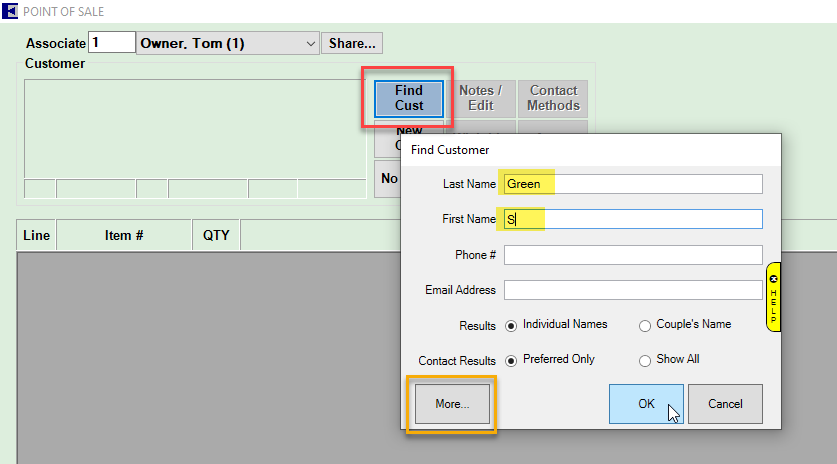
- Click the Find Cust button. The modified, "quick find" Find Customer window will appear.
- Enter your customer's last name and first initial to locate your customer.

NOTE: Alternatively, you may click the More... button to pull up the full Customer Find filter. For step-by-step instructions on how to find and verify customers using the full Customer Find window, please revisit the previous article named Customer Data: Verify Customer Records.
- After entering your customer search criteria, click OK.
Continue through the checklist by visiting the next article, POS: Verify Item Information at POS.